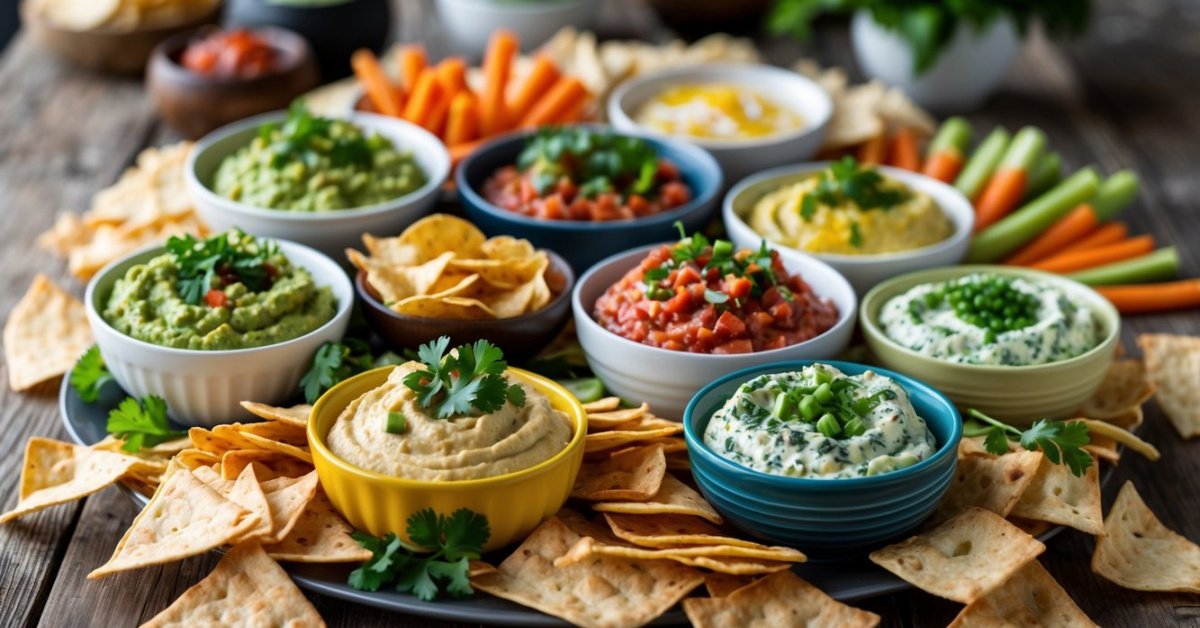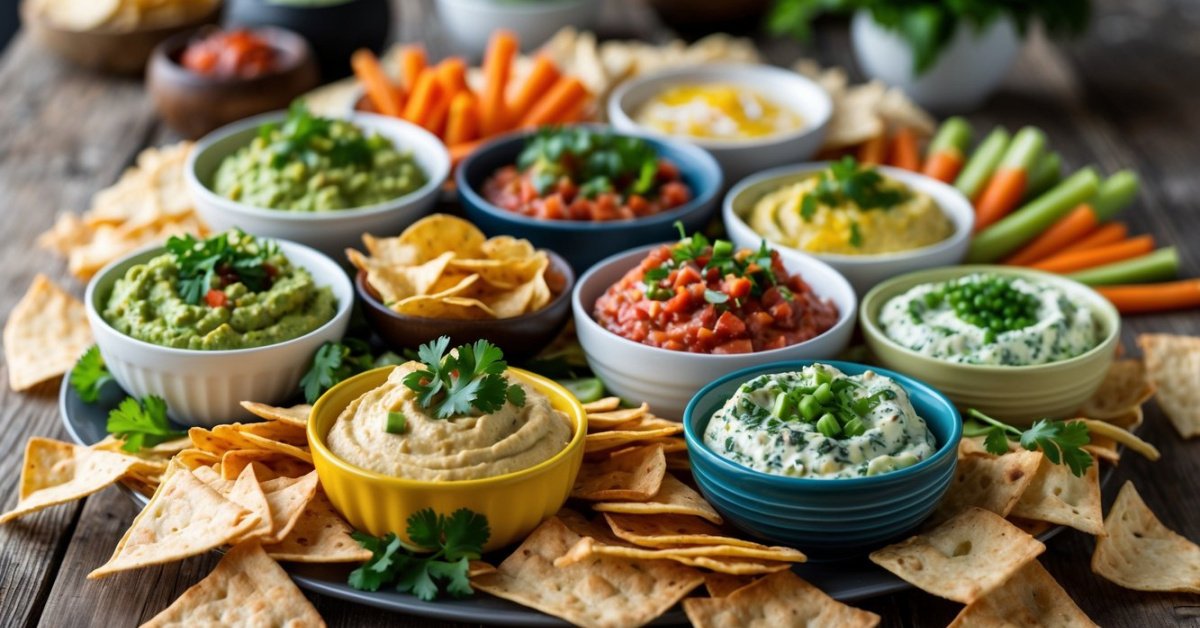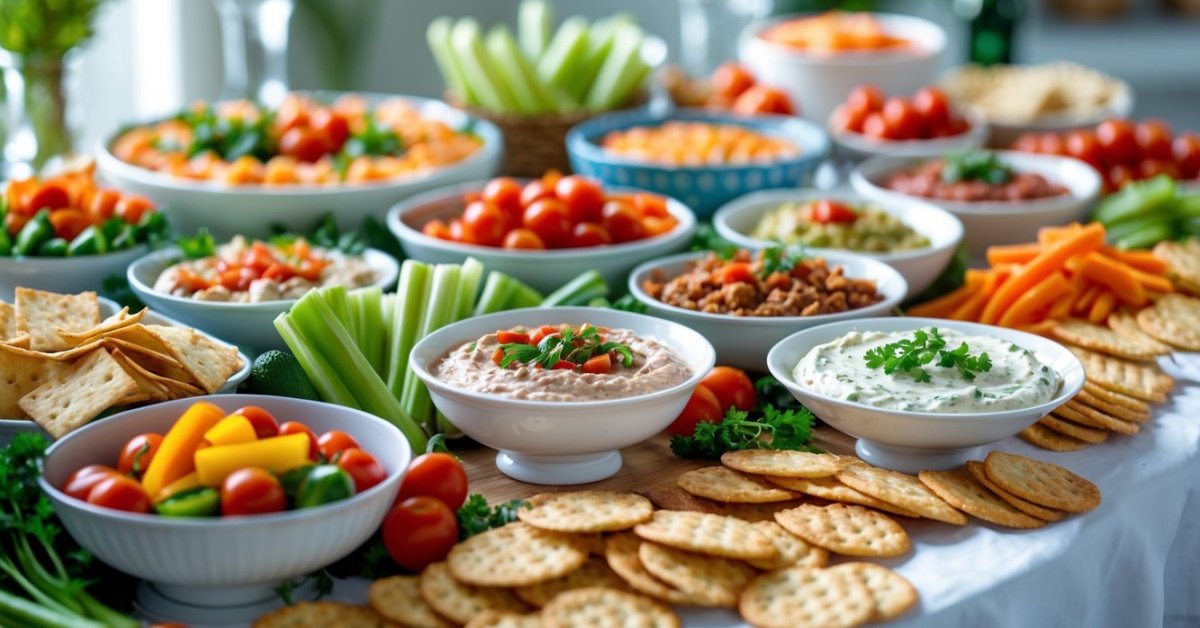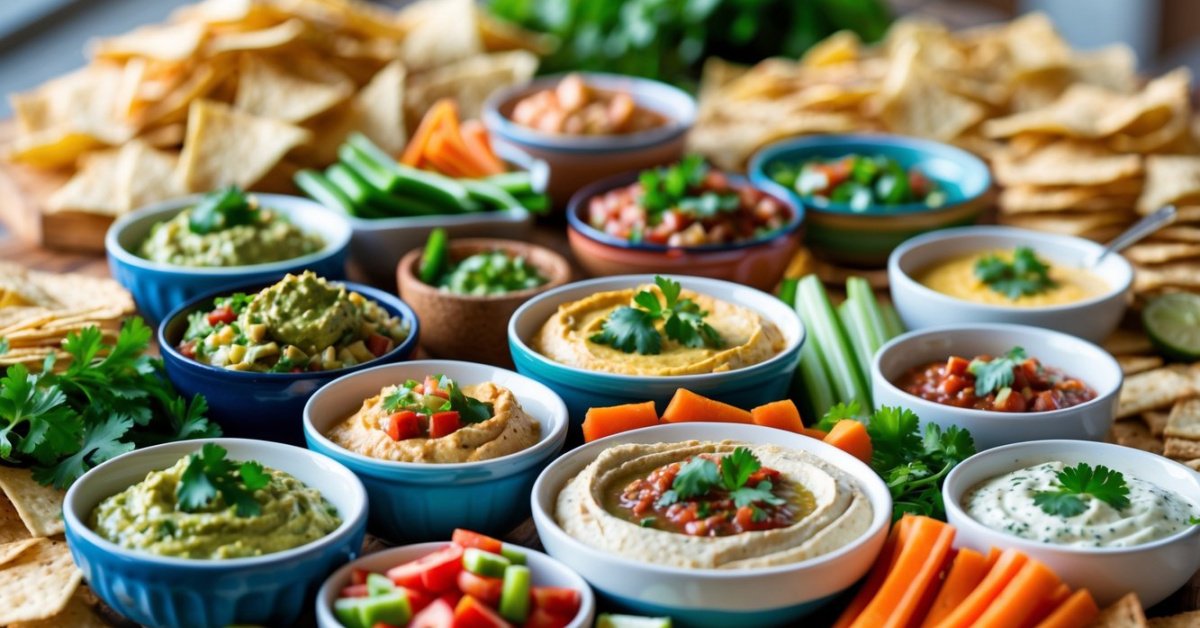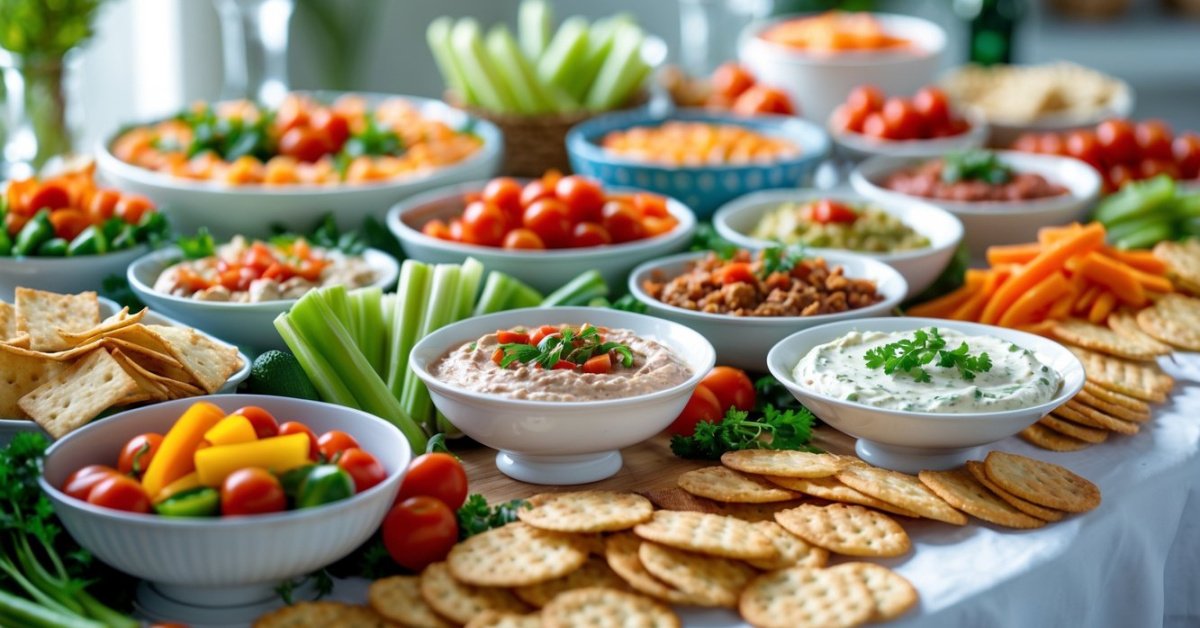
Whenever I’m heading to a potluck or a party I love bringing my favorite homemade dips. There’s just something about sharing a creamy guacamole or a spicy salsa that gets everyone excited. But getting those tasty creations from my kitchen to the event without a mess? That’s always a challenge.
No one wants to show up with a container that’s leaked or a dip that’s lost its texture. I’ve learned a few tricks over the years to keep everything fresh and spill-free. With a little planning it’s easy to make sure your dips arrive just as delicious as when you made them.
Understanding the Challenges of Transporting Dips
When I get ready to pack up my homemade dips—be it a classic Alabama-style pimento cheese or a batch of smoked guacamole—I’m always thinking about what could go wrong. Dips bring some real trouble on the road, especially if they’re creamy or chunky.
- Spillage and Leaks
Spillage creeps up quick if the container ain’t sealed tight enough. Dips like salsa or queso can leak through mismatched lids or poor-quality plastic, leaving a mess in your cooler or car. In my years running a dip company, I saw thin containers pop open and spill more than once.
- Texture and Freshness Loss
Texture takes a hit when dips get tossed around in transit. Guacamole, for example, browns when exposed to air and loses that just-made look. Chunky dips, like black bean and corn, can separate or get watery if agitated too much. If stored wrong, dairy-based dips get clumpy or sour.
- Temperature Control
Temperature makes or breaks a dip’s safety and taste, especially mayonnaise or sour cream dips. Without ice packs or refrigeration, bacteria grows fast and flavors turn off. I stick my most delicate dips in the coldest spot I can find and never let ’em get lukewarm if I can help it.
- Container Quality
Container strength means everything for safe dip transport. Flimsy grocery store tubs crack. I use heavy-duty, screw-top containers since they travel well and don’t buckle under pressure.
Road trips and potlucks may look easy, but keeping dips in good shape from home to party means solving for messes, spoilage, and messy texture problems every single time.
Choosing the Right Containers
I pick my containers with care if I’m hauling my dips across town. Choosing the best ones keeps guacamole green and queso creamy, even after bumpy rides or long stretches in the sun.
Airtight versus Leak-Proof Options
I always check if a container’s airtight or leak-proof. Airtight containers work well for keeping dips like hummus and sour cream chip dip from drying out or soaking up fridge smells. Leak-proof options come in handy for salsa and buffalo chicken dip, since those’ll spill faster than sweet tea in a paper cup. I prefer containers with double-locking lids for extra security—Rubbermaid Brilliance or Snapware help me avoid leaks and keep dips fresh during hot Alabama drives.
Size and Material Considerations
I match the size of the container to the dip batch. Smaller 8-ounce containers fit single-serve ranch or taste samplers, while 4-cup sizes hold big family guac or loaded bean dips. Divided containers let me pack chunky dips and keep toppings like jalapeños or shredded cheese separate till serving—nobody likes soggy fixins. I lean toward BPA-free plastic or tempered glass, so they’re tough enough for travel and safe for reheating queso or baked spinach dip on site. Clear sides make it easy to spot what’s inside without popping the lid.
Preparing Dips for Safe Transport
Getting dips ready for the road takes a little extra care. I always stick with a few tried-and-true methods to make sure every batch keeps that made-fresh flavor.
Chilling and Thickening Techniques
Chilling dips helps keep ’em fresh and sturdy. I cool creamy dips like ranch and spinach-artichoke in the fridge for 2-4 hours before packing. That thickens the texture and keeps dairy ingredients safe. For chunky dips like pico de gallo or black bean salsa, I drain off any excess liquid with a fine sieve. That way dips don’t get watery if they slosh around on the ride.
Thickening agents come in handy when prepping thinner dips for transport. I’ll add a couple tablespoons of Greek yogurt, cream cheese, or even mashed avocado to thin sour cream or mayo-based dips—this keeps the whole batch smooth and less likely to spill. For hummus or bean dips, I blend in extra chickpeas or beans, which firms up the mix without changing the flavor.
Proper Portioning Strategies
Portioning dips before travel cuts down on mess and keeps things tidy. Instead of moving one big tub, I scoop dips into smaller, single-serve containers. That way each guest gets a fresh, clean dip—no double-dipping to worry about. Mini airtight containers, like 4 or 8-ounce deli cups, work great for this. When I’ve got a big crowd, I pop all those little cups in a cooler bag with ice packs to keep ‘em chilled.
For layered dips—like seven-layer or buffalo chicken dip—I build them in shallow, flat containers. That makes scooping easy and lowers the chance of things shifting around in transit. If I’m bringing toppings like fresh herbs or chopped tomatoes, I put those in a separate snap-top cup and add them right when it’s time to eat. That way, nothing gets soggy or loses its pop.
Packing and Organizing Dips for Travel
I always plan out my dip packing before I ever hit the road. Good packing keeps every dip tasting just like it should, even after a bumpy ride. Smart organizing helps me make sure nothing leaks or mixes together where it shouldn’t.
Layering and Cushioning Methods
I use layering for dips with toppings, like my classic seven-layer or loaded baked potato dip. I always keep crunchy toppings—green onions, bacon bits, or tortilla strips—separate, packing those in another container or zip-top bag. When it’s time to serve, I just sprinkle them on top.
For traveling, I cushion my dip containers by wrapping them in kitchen towels or sleeves. I wedge them into a cooler or tote, making sure there’s no room to bump around. I never set glass containers right against each other—one little knock, and you could have cracked glass and a big mess. I fill empty spaces with extra towels, paper napkins, or even a bag of chips to keep everything locked in tight.
Preventing Spills and Cross-Contamination
I double-check lids—those double-locking ones I swear by—because a loose lid means dip on your car seats instead of your chips. For travel across town or a couple hours down I-65, I always put my dips into leak-proof containers and then set those upright in a plastic bin or cooler.
I pack different dips in separate trays. Salsa, ranch, and guac never touch—nobody wants their spicy chipotle salsa to end up mixing into grandma’s pimento cheese dip. Any spoons or spreaders travel in sealed bags, not tossed in loose where they’ll grab extra germs or flavors.
I keep cold dips on ice or with frozen gel packs. Dairy, yogurt, and mayo-based recipes ride right on top of that cold pack. Warm dips, like queso, ride in a thermal carrier, so hot and cold don’t mix.
These methods, straight from my years running a dip company, never let me down—my dips arrive looking good, tasting right, and never mixed up or spilled.
Tips for Short and Long-Distance Transport
I’ve hauled dips to backyard cookouts five minutes up the road and college tailgates clear across the state. Every trip brings its own set of challenges, but a little prep keeps everything from spilling or going bad before it hits the table.
Using Coolers and Ice Packs
I rely on good coolers and ice packs for both short and long trips, especially if I’m dealing with anything dairy or mayo-based—think pimento cheese or ranch. Coolers help dips hold temp and keep things safe if I’m out in the Alabama heat. I line the bottom with ice packs, then put my airtight containers right on top. For extra-long hauls, I toss in a couple of frozen water bottles too. Those stay cold longer and don’t make a mess as they thaw, so the dips stay fresh and no one ends up sick.
Adapting for Different Travel Conditions
Different routes need different strategies. If I’m just driving across town, I’ll grab a lunch cooler or an insulated tote and make sure the dips ride flat in the trunk—nothing sliding around. If I’ve got a few hours on the road, I layer towels between containers in the cooler so nothing bumps or cracks, and I keep toppings separate ’til it’s time to serve. Sometimes, humidity will make crispy toppings soggy, so I wait to add ‘em. For cold weather, I wrap warm dips in kitchen towels and use a thermal bag to trap heat, only opening it right before serving. That keeps the queso or buffalo chicken dip nice and gooey, no matter how far I’m traveling.
Conclusion
Bringing homemade dips to a gathering always feels rewarding once I see everyone enjoying them just as I made them. With a little planning and the right tools it’s easy to avoid the usual pitfalls and keep everything tasting fresh. I’ve found that taking a few extra steps goes a long way toward making sure my dips arrive safe and ready to share. There’s nothing better than seeing an empty dip bowl at the end of the night and knowing it survived the trip perfectly.