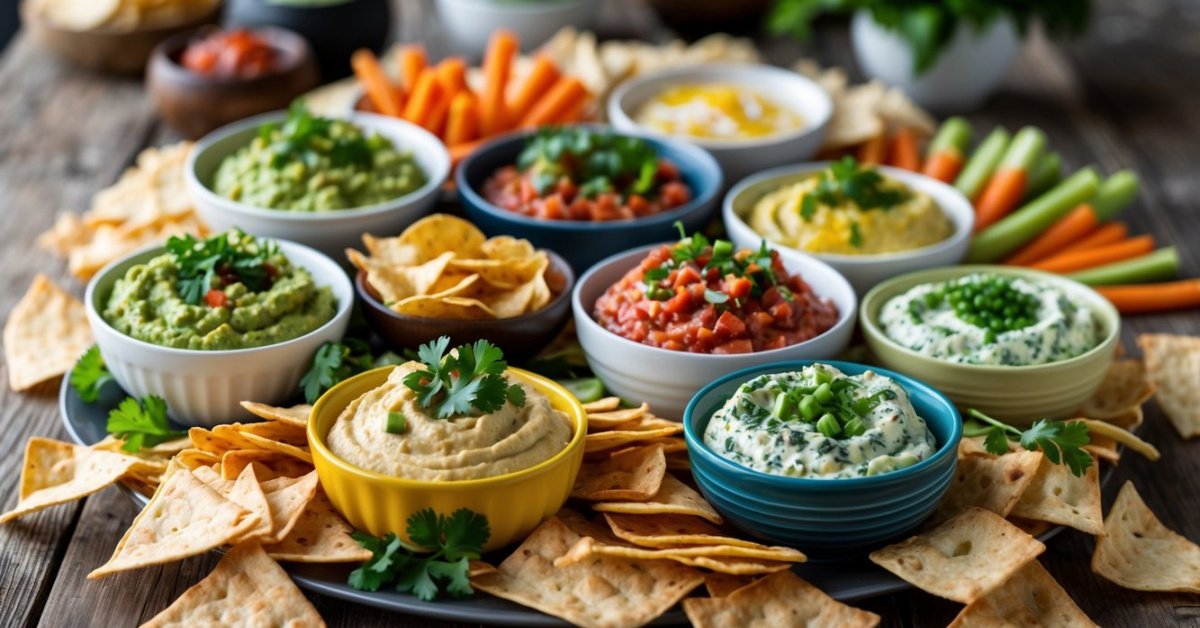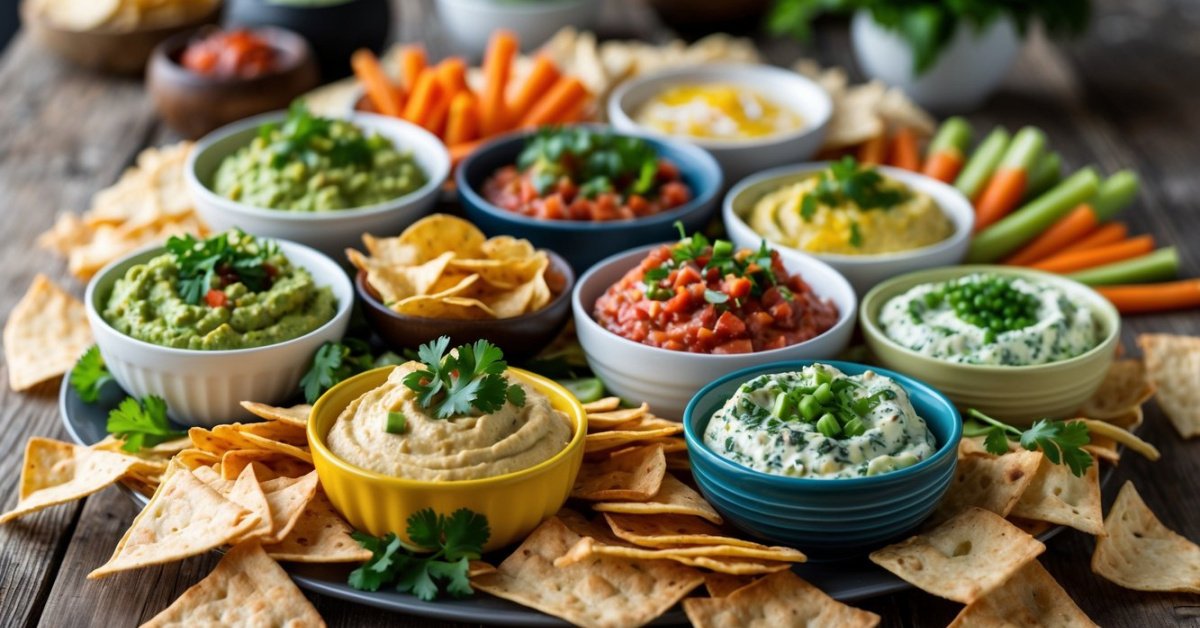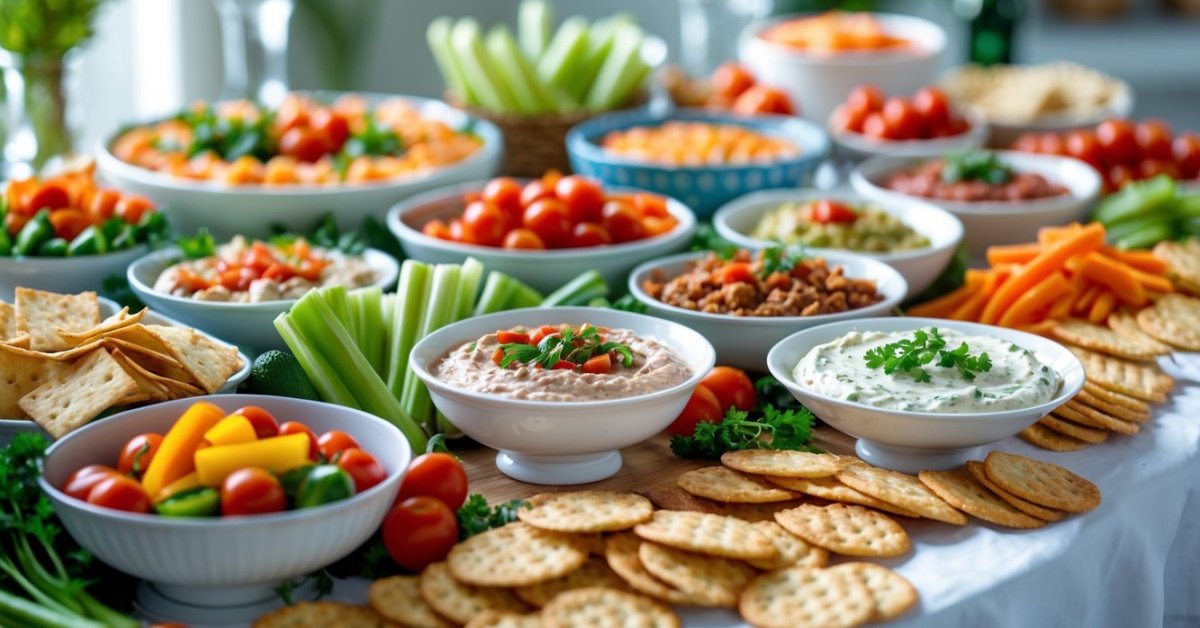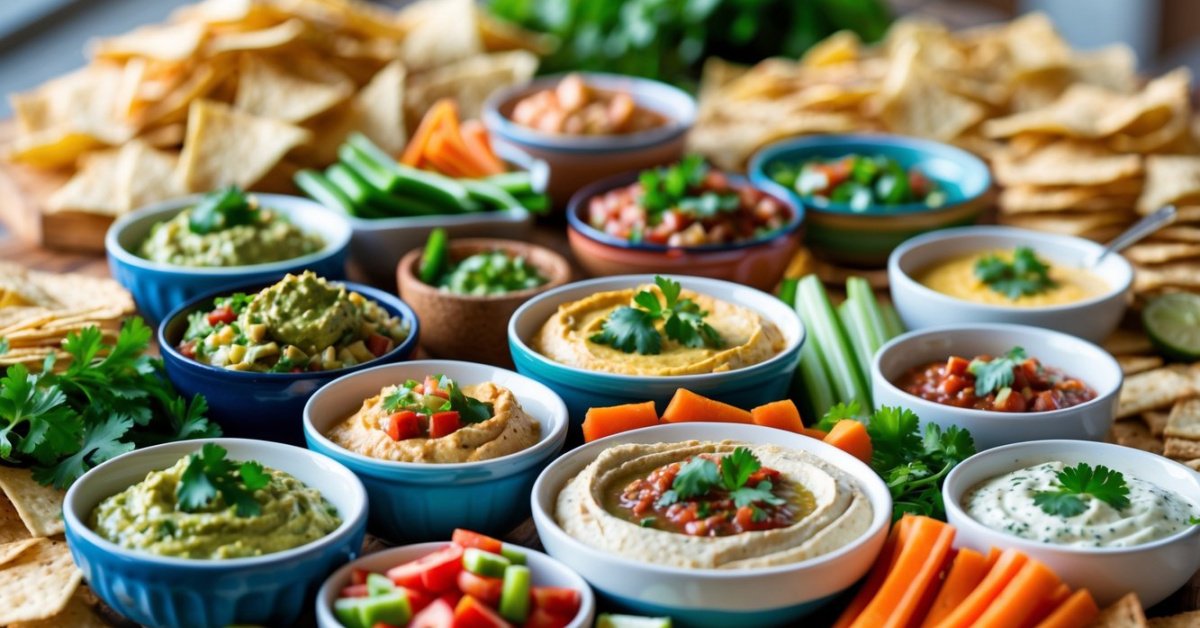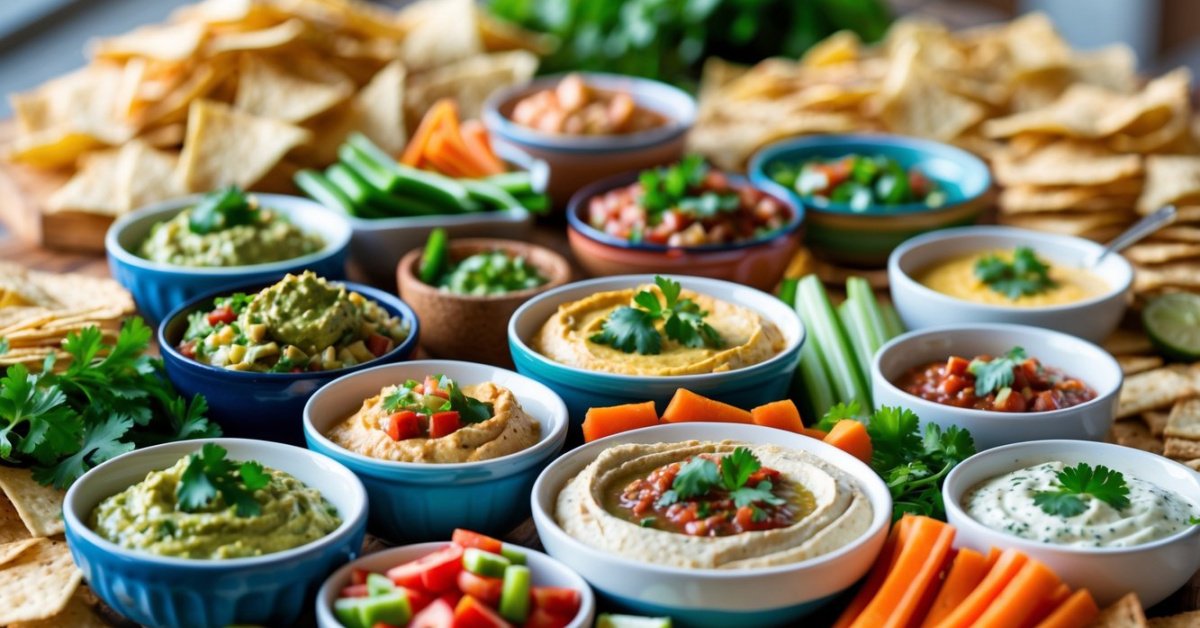
I love making dips for parties or just a cozy night in but I used to dread the mess and hassle of pulling out a big blender. That all changed when I discovered the magic of an immersion blender. This handy tool makes it so easy to whip up creamy hummus smooth guacamole or even a quick salsa right in the bowl.
With an immersion blender I can control the texture and blend everything in seconds without extra dishes. It’s become my go-to gadget for experimenting with new flavors and impressing guests with fresh homemade dips. If you’ve never tried using one for your favorite recipes you’re in for a treat.
Benefits of Using an Immersion Blender for Dips
Time-saving always tops my list with an immersion blender in the kitchen. I blend up a batch of pimento cheese or black bean dip in under five minutes if I use this gadget, as long as I prep my ingredients first.
Cleanup stays simple when I use an immersion blender since I blend everything right in my mixing bowl. I only wash the stick and bowl instead of wrangling with a big food processor, even when I whip up spinach artichoke dip, buffalo chicken dip, or roasted red pepper hummus.
Texture control gets a lot easier with this tool. I pulse a few quick times for a chunky salsa or run it longer for super-smooth queso and creamy French onion dip whenever I want, as long as I keep a close eye on consistency.
Portion flexibility always matters for parties or family nights. I make a small batch of garlic white bean dip just for myself or a double batch of Alabama-style cheese dip for a crowd, all with my immersion blender—if I choose my bowl size right.
Fresh flavor runs brighter with this approach. I toss fresh herbs, roasted peppers, or ripe avocados in and blend ’em up right before serving so folks get the boldest flavor, as long as I use ingredients at their peak.
Space-saving benefits make a difference in my kitchen. This hand blender fits in a drawer, not out on the countertop, and I get my work surface back after each batch, every time I finish blending my dips.
Choosing the Right Immersion Blender
I’ve tried just about every gadget making dips for folks and running my own little dip company back in Alabama. Not every stick blender works the same, especially when you’re after that perfect scoop-able texture. Choosing the right immersion blender can mean smoother hummus, chunkier salsa, and a whole lot less mess in your kitchen.
Key Features to Consider
- Power Rating
I always check the wattage. Higher wattage—something over 200 watts—handles thick dips like black bean and roasted pepper spreads real easy.
- Blade Design
I look for stainless steel blades with a guard that won’t catch green onions or fresh herbs. This keeps dips like guacamole creamy every single time.
- Speed Settings
Multiple speeds matter. Slower speeds work for salsa if you want some chunks left in, while higher speeds turn beans or avocado into a smooth spread.
- Comfort and Grip
I like a handle that fits my hand, especially if I’m working up several dips for a party. Non-slip grip helps during longer blending sessions.
- Removable Shaft
Cleanup’s a breeze with a detachable shaft. I pop it off, give it a rinse, and don’t fool with too many parts.
Recommended Models for Dips
- Braun MultiQuick 5
Powerful, quiet, and the bell-shaped blade guard’s real good for making small batches of jalapeño dip or garlic aioli.
- KitchenAid Variable Speed Hand Blender
Variable speeds, comfy handle, and one-handed control. It’s handy for blitzing everything from pico de gallo to spinach-artichoke dip.
- Cuisinart Smart Stick
Simple controls, sturdy build, and it’ll run through chickpeas for hummus or roasted tomatoes for salsa.
- Breville Control Grip
Strong 280-watt motor, unique bell-shaped base, and it comes with a blending cup that’s perfect for testing out recipes with new flavors.
All these choices let me whip up dip recipes that folks remember, whether I’m working up something creamy or keeping it chunky and bright.
Step-By-Step Guide to Making Dips With an Immersion Blender
Making fresh dips with an immersion blender lets me whip up bold flavors right in my kitchen, Alabama style. Here’s how I tackle every batch for smooth, crowd-pleasin’ results.
Preparing Your Ingredients
I always start dips with the freshest ingredients I can find. I chop vegetables—like jalapeños, onions, or roasted red peppers—into even pieces, usually about 1-inch chunks. I rinse canned beans, like black beans or chickpeas, and pat ‘em dry so my dip turns out just right, not watery. For creamy dips, I set out sour cream, yogurt, or cream cheese at room temp for about 10 minutes; this helps everything blend up smooth. Herbs and seasonings—I toss those in last, right on top, to keep the flavor strong.
Blending Techniques for Smooth Results
I grab my tallest, narrowest mixing bowl for most dips so there’s less splatter. I stick the immersion blender straight down in the center of the bowl, making sure those blades cover the ingredients. I pulse the blender for five to ten seconds, then stop and check the texture. For smooth, creamy dips like hummus or queso, I keep blendin’ in short bursts, moving the blender up and down till everything’s silky. For chunky dips, like salsa or cowboy caviar, I blend just enough to bring ingredients together, usin’ quick pulses and checkin’ often. If the dip gets too thick, I splash in a tablespoon of olive oil or a squeeze of lemon juice and blend again. I always taste and adjust seasonings right after the last blend.
Blending dips at home with my immersion blender keeps the texture just how I like it, whether for a backyard BBQ or a big family get-together.
Popular Dip Recipes to Try
I’ve spent years in Alabama kitchens and behind my own dip company table, so I’ve blended up more dips than I can count. Folks always ask which ones stand out when you’re working with an immersion blender. I picked my three go-tos that never disappoint, whether you’re feeding family or packing for a tailgate.
Classic Hummus
I blend chickpeas, tahini, lemon juice, garlic, salt, and olive oil right in my mixing bowl. That immersion blender gets everything silky smooth in about two minutes. When I blend, I scrape down the sides, then pulse until there’s no grit left. For extra creaminess, I sometimes toss in a spoonful of Greek yogurt. Fresh hummus beats anything store-bought.
Creamy Guacamole
I mash ripe avocados, lime juice, fresh cilantro, chopped red onion, jalapeños, and sea salt. My immersion blender gives a creamy guac, but I pull up on the blender a time or two for some chunks. Down here in Alabama, a squirt of hot sauce takes it up a notch. I always blend right before serving to keep it bright and green.
Savory Spinach and Artichoke Dip
I process drained artichoke hearts, thawed spinach, cream cheese, sour cream, garlic, Parmesan, and a bit of mayo with my immersion blender. In seconds, everything’s creamy with bits of artichoke here and there. After I blend, I stir in a handful of shredded cheese by hand and bake till bubbly. This one’s a hit at any gathering or just for snacking in front of the TV.
Tips for Cleaning and Maintaining Your Immersion Blender
I clean my immersion blender right after making a batch of dip, before anything has time to dry on it. I unplug it first—safety’s always first. I detach the blending shaft if it pops off, then rinse it under warm water. I add a dab of dish soap, then use a sponge or bottle brush to get around the blade and inside edges. If onion or bean bits get stuck, I let it soak for a couple minutes, then give it another pass with the brush.
I avoid getting the motor part wet—just a quick wipe with a damp cloth if I splash something on it. I dry each piece with a towel, but leave ‘em out on the rack to air dry all the way. I never run the motor under water or dunk that top half—just ain’t worth the trouble it could bring.
For keeping my immersion blender in good shape, I check the blade now and then. If I see it’s getting dull, I swap it out if I can buy a replacement for my model. I also make sure the shaft clicks into place nice and snug each time. If the blade’s wobbling or the attachment is loose, I stop and fix it before I blend another batch.
After making extra-thick dips—like pimento cheese with roasted peppers and cheddar—I take time to clean out every corner where cheese can hide. I don’t let food dry up around the blade, since it’s tougher to scrub after. If my blender’s been busy with heavy spices or onions, I add a splash of lemon juice while cleaning to knock out odors.
If I’m ever dealing with stubborn stains or smells, I blend warm water with baking soda in a tall cup. That pulls out what’s left and freshens things up. My immersion blender’s always ready for the next big batch—makes it easy to whip up more dips right when folks are asking for ‘em.
Conclusion
I love how my immersion blender has become my go-to tool for making dips. It’s amazing how a simple gadget can spark so much creativity in the kitchen and make gatherings extra special. With just a few fresh ingredients and a little inspiration I’m always ready to whip up something delicious for friends and family.
If you haven’t tried making dips this way yet give it a shot. You might be surprised by how easy and fun it is to create your own signature recipes. Happy blending!