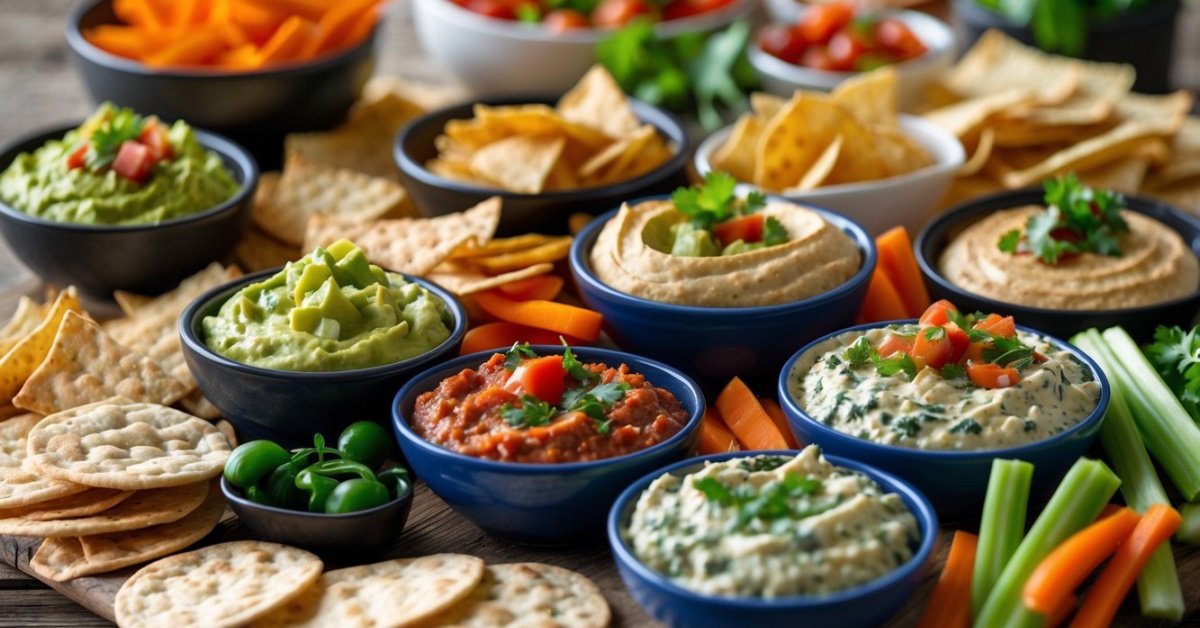
Whenever I whip up a batch of hummus I’m always amazed at how a few simple ingredients can turn into something so creamy and delicious. But I’ve learned that the real magic comes down to how you blend it. The right technique can take your hummus from just okay to restaurant-quality smooth.
I love experimenting with different tools and methods to get that perfect texture. Whether I’m craving something silky or a little more rustic I know that how I blend makes all the difference. Let’s dive into the world of hummus blending and discover the secrets to making this classic dip truly shine.
Understanding the Importance of Blending in Hummus
Blending sits at the heart of hummus making. When I ran my dip company down in Alabama, I learned real fast that how you blend makes all the difference between a lumpy mess and the kind of creamy hummus folks keep asking for at parties. The mix of chickpeas, tahini, lemon juice, and garlic only gets that smooth, dreamy texture when every ingredient comes together in just the right way.
Texture drives folks’ opinions on hummus. If the dip feels gritty or chunky, folks notice, and it won’t fly at my table or out of my kitchen. Creaminess pulls those flavors together, and blending unlocks it. I go for blends that knock out every bit of grit but don’t work the dip so hard it heats up and gets pasty.
Consistency shapes flavor, too. When I blend the right way, tahini and olive oil get spread out evenly, and nobody ends up with a bite that’s just lemon or just garlic. Every scoop packs flavor and silkiness. Blending pulls it all together, so I focus on technique and timing, never rushing or over-mixing.
Making hummus that stands out starts right here, in the blending step. This is what separates homemade hummus from the sad tubs you find at the grocery store.
Traditional Blending Techniques for Hummus
A good hummus texture starts with how you blend it. Folks in the old days didn’t have fancy gadgets but still turned out smooth, rich hummus with simple tools.
Mortar and Pestle Method
This mortar and pestle method lets me crush chickpeas, garlic, and tahini bit by bit. I use a heavy stone set and pound slow so each piece breaks down fully, and those flavors get deep. Most folks in the Middle East used this for centuries, and I lean on it when guests want old-school, rustic hummus. It takes elbow grease but hands out a thick, hearty texture and keeps all the flavors bright.
Hand Masher Approach
This hand masher approach uses a potato masher or big fork. I press cooked chickpeas, garlic, and tahini until they’re soft, working bowl to bowl in small batches. I get more control with this, and it’s perfect when I want a rougher, chunkier dip. I learned this style testing out recipes for my dip shop because some folks like a thick dip with a bit of bite. This step gives me a rustic texture with a homemade feel every time.
Modern Blending Techniques for Hummus
Modern tools make whipping up extra-smooth hummus quick and easy. I switched to these methods at the dip company, chasing that super creamy dip folks come back for again and again. Each technique brings out different side of hummus, from ultra-light to rich and velvety.
Food Processor Method
Using a food processor for hummus gives me a consistent, creamy blend every time. After draining chickpeas and adding tahini, lemon juice, garlic, and salt, I run the machine for at least 2 minutes, stopping to scrape the sides so everything gets mixed in good. I pour in ice water, bit by bit, to lighten the texture and make it fluff up. Sometimes I’ll blend the tahini and lemon first to build a strong base before chickpeas go in. This method works well for big batches, with little grit left behind and maximum flavor punched right through the mix.
Blender Method
Using a high-speed blender, like a Vitamix—sheesh, that’s how I get my hummus as smooth as the best restaurants in town. I start with the wet ingredients, dumping tahini, lemon juice, and ice water down by the blades before dropping in the chickpeas and garlic. I blend on high for about 1 minute, pushing everything down with the tamper so it keeps turning over. This method takes a little patience since the blender gets thick quick, but the payoff is that satiny finish. I found this especially good for small batches or serving folks who like hummus practically silky, every spreadable bit rich and fine.
Comparing Blending Techniques: Texture and Flavor
I’ve spent years tinkerin’ with blending everything from pimento cheese to hummus, and I’ll tell you, the texture and taste shift big time with each tool. My Alabama kitchen’s seen it all—old-school hand mashers, fancy blenders, and those trusty food processors. Here’s how those differences play out across the board.
Impact on Creaminess
Blending style sets hummus’ creaminess, plain and simple. I get chunky, hearty texture using a mortar and pestle, same as you’d find in a country kitchen from way back—think thick, almost spreadable, full of burst chickpeas. With a hand masher, the dip keeps some bite, making it more rustic and less uniform. Food processors come into play when I’m after that restaurant-level smoothness; spinning the mix longer, adding a touch of ice water, and letting tahini blend in slow brings out a dreamy, whipped creaminess. High-speed blenders like my Vitamix put everything on silk mode. Here, the hummus turns almost mousse-like, barely a trace of grit left, every spoonful just gliding across your mouth.
Preserving Ingredients’ Freshness
How you blend matters for flavor punch and keeping things bright. When I go slow with a hand tool, I notice fresh lemon, raw garlic, and nutty tahini shine through since there’s less heat and friction. My old mortar and pestle lets me taste every ingredient, like a garden dip with every scoop. But my food processor or blender gets things done quick, trapping those zesty notes while keeping air out—good for flavor if you move fast, but sometimes that heat dulls the sharpness a bit. Long blending, especially on high, can make the garlic milder, lemons less zingy, but it gives a round, blended flavor throughout the whole batch.
Blending techniques don’t just switch up the look and feel—they steer the flavor and freshness every time I whip up a new hummus recipe in my little dip shop or my home kitchen.
Tips for Achieving the Perfect Hummus Consistency
- Start with soft chickpeas
I get the smoothest hummus when my chickpeas are cooked real soft. I simmer ’em longer than called for, till I can mash ’em easy between two fingers. Canned chickpeas work, but I rinse and warm ’em up first for a creamier blend.
- Peel chickpeas for extra creaminess
If I want hummus silky as it gets, I slip the skins off my chickpeas. It takes a few minutes, but these skins keep the dip from going ultra-smooth. I rub chickpeas between my hands in a bowl of water, and the skins float right off.
- Blend in stages
I always start with my tahini, lemon juice, and garlic—blend that mix till it’s real smooth. Then I add chickpeas in small batches and process ’til creamy. This way, my hummus picks up air and comes out nice and fluffy.
- Add ice water slowly
I drizzle cold water through the top of the blender or processor while blending. A little at a time makes the hummus turn lighter and holds that whipped, restaurant style texture. Usually, 2-4 tablespoons is enough.
- Scrape down the sides often
I stop and scrape down the sides with a spatula a few times during blending. This way, every bit mixes in real good, and I don’t get any chunky spots.
- Don’t rush the blending
I let my blender or food processor run a minute or two extra. If I quit too soon, the hummus stays gritty. That extra time makes a big difference.
- Watch for thickness
I blend till the hummus holds its shape on a spoon but still slides off easy. If it’s too thick, maybe for a veggie platter, I splash in a bit more lemon juice or water till it’s perfect.
- Taste and adjust
At the end, I always give my hummus a taste. Could need more lemon for brightness, maybe a pinch of salt, or another spoon of tahini for richness. The right texture always brings out the flavors best.
Common Mistakes to Avoid When Blending Hummus
Skipping the Chickpea Prep
Starting with unsoaked or undercooked chickpeas always ends in a grainy, rough hummus. Every time I want creamy smooth hummus, I use fully cooked, soft chickpeas—canned, simmered, or pressure-cooked. Peeling them by pinching off the skins doubles the silkiness. Cutting corners with prep always takes away from that famous restaurant texture folks crave.
Adding Everything at Once
Loading all ingredients—chickpeas, tahini, lemon, garlic, and oil—in the blender together means the flavors blend flat, and the mix stays lumpy. I blend tahini, lemon juice, and garlic first for a minute till the mix gets light and frothy. Then I add chickpeas, a little at a time, finishing with ice water to fluff things up. This step-by-step routine gives even flavor and a smooth dip.
Over-Blending or Under-Blending
Letting a blender run too long heats everything up and dulls the flavor. Not blending enough leaves chunks and grit. I go till the hummus just gets pasty and smooth, stopping to scrape the sides. It takes about 3 to 5 minutes in a food processor. My high-speed blender can be quicker, but I never walk away or rush it.
Forgetting to Scrape Down the Sides
When I skip scraping the bowl, half the chickpeas stay stuck and never get blended soft. I stop every minute to scrape down the sides and bottom. Doing this keeps the texture even and every bite smooth.
Missing the Ice Water
Leaving out ice water means hummus ends up thick and paste-like, not airy or scoopable. I add 2 to 3 tablespoons of ice water at the end, blending for 30 seconds more. If I want it even fluffier, I add another splash. This brings that whipped, creamy finish you get in my favorite dip shops.
Neglecting to Taste and Adjust
Blending without tasting at the end always leads to bland, flat hummus. Every batch needs a quick taste so I can adjust salt, lemon, or tahini before serving. Skipping this step can ruin a whole bowl of hummus, no matter how smooth it looks.
Using the Wrong Tool
Using a hand blender or an old, dull blade never gives the right texture. My best hummus comes from a sturdy food processor or a high-speed blender. Mortar and pestle hummus stays rustic, but for classic creamy style, I go with my machines. Tools matter more than folks think when chasing that perfect dip.
| Mistake | Result |
|---|---|
| Unsoaked/under-prepped chickpeas | Grainy, rough hummus |
| All-in-one blending | Lumpy, flat taste |
| Over- or under-blending | Heated, dull flavors or grit |
| Not scraping sides | Uneven, chunky texture |
| Skipped ice water | Dense, heavy hummus |
| No taste test at finish | Bland, unbalanced flavor |
| Wrong blending tool | Bad consistency, unappealing dip |
Conclusion
Blending hummus is a creative process that lets me experiment with both tradition and innovation. Whether I’m reaching for a mortar and pestle or firing up my blender I love finding new ways to perfect that creamy dreamy texture.
No matter which method I choose I always enjoy the journey as much as the result. With a little patience and the right technique homemade hummus always feels like a small victory in my kitchen.